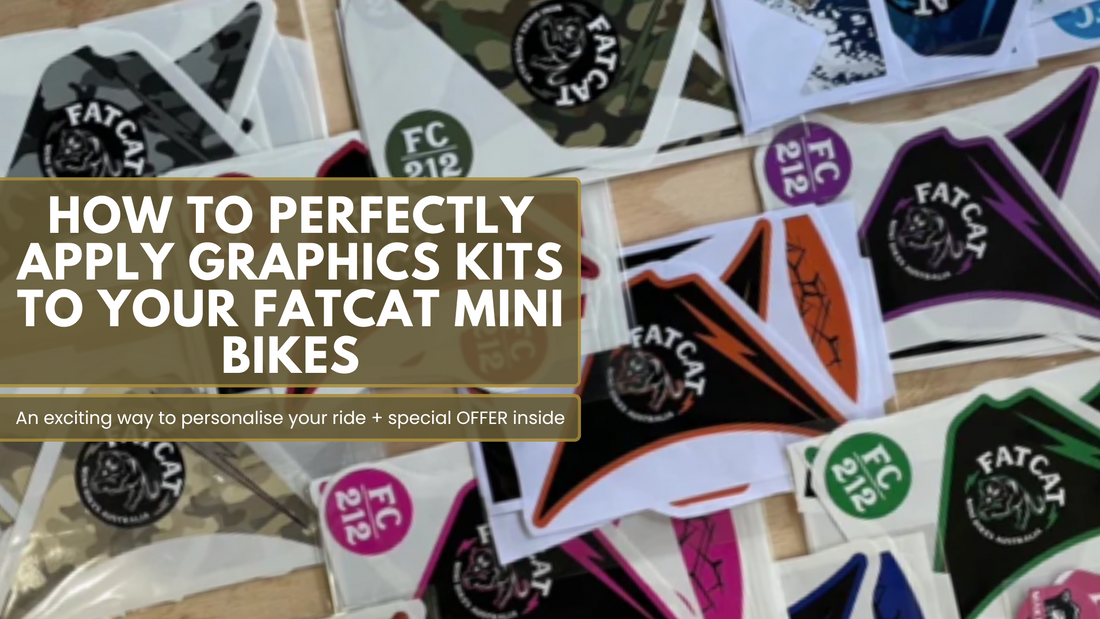
How to Perfectly Apply Graphics Kits to Your FatCat Mini Bikes

Transforming the look of your FatCat Mini Bike with a graphics kit is an exciting way to personalise your ride. Whether you’re aiming for a sleek, single-colour finish or a dynamic camo pattern, the proper application of your graphics kit ensures the best results and durability. In this blog post, we'll guide you through the detailed steps to apply your graphics kit to a FatCat FC-212, ensuring a smooth, bubble-free finish that will stand out on any trail or track.
Preparing Your Bike
1. Clean the Surface
Before you start, it’s crucial to ensure that your bike’s surface is pristine. Using a soft cloth and isopropyl alcohol, thoroughly clean the areas where the graphics will be applied. Methylated spirits can also be used as an alternative. This step removes any dirt, grease, or debris, providing a clean surface for the stickers to adhere properly.

Step-by-Step Graphics Application
2. Front Guard Top
Begin with the top sticker of the front guard. Carefully place the sticker about 1-2mm back from the front edge of the guard. Smooth it out gently, ensuring you remove any creases or bubbles as you go. This initial sticker sets the tone for the alignment of the remaining pieces.

3. Front Guard Sides
Next, apply the side stickers. Line them up with the front edge, slightly overlapping the first sticker. Lightly position the sticker until you're satisfied with its placement (typically leaving about a 2mm gap to the edge of the guard), then press it down firmly from the inside out, smoothing away any creases and bubbles.

4. Rear Guard Top
For the rear guard, start with the top sticker. Position this sticker 4-5mm back from the edge, then smooth it over carefully. This ensures that the sticker aligns nicely with the bike’s contours and does not peel off during rides.

5. Rear Guard Sides
Apply the side stickers for the rear guard in the same manner as the front guard sides. Ensure they are lined up correctly with the front edge, overlapping the first sticker. Smooth each sticker from the inside toward the edges to eliminate any air pockets and achieve a professional-looking finish.

As a special offer to you we're having a sticker kit flash sale! 🔥 For one week only, grab our high-quality sticker kits for just $100! No discount code needed – we've already slashed the prices on our website! 🚀 Whether you're jazzing up your existing bike or adding some flair to a new one, now's the time to snag this awesome deal. Hurry, promo starts on 27th April and ends on 4th May 2024. Don't miss out on the chance to elevate your FatCat experience!

Customise Your Ride
Coloured Graphic Sticker Kit
Our customisable sticker kits, designed and crafted right here in Australia by a local graphics expert, are made from durable decal material engineered for outdoor use. Choose from an exciting array of 12 colours to express your personal style or select one of our unique camo patterns like Blue Camo, Green Bush Camo, Red Desert Camo, Grey Snow Camo, or Sand Dune.
Installation Notes
Please note that our FatCat bikes come with small genuine black stickers pre-applied. You will need to remove these stickers before applying your chosen graphics kit. For a flawless application, ensure the surface is clean and follow the steps outlined above meticulously.
Support and Shipping
If you have any questions during the application process or need further assistance, don't hesitate to reach out. We're here to support your FatCat experience. Plus, take advantage of our fantastic shipping deals at FatCat Mini Bikes! Enjoy free shipping on accessories when purchased with a bike, or benefit from our $15 flat-rate shipping for accessories purchased separately.
Transform your FatCat Mini Bike into a reflection of your unique style with our durable, eye-catching graphics kits. Follow these steps, and you're sure to have a bike that not only rides great but looks amazing too!


