
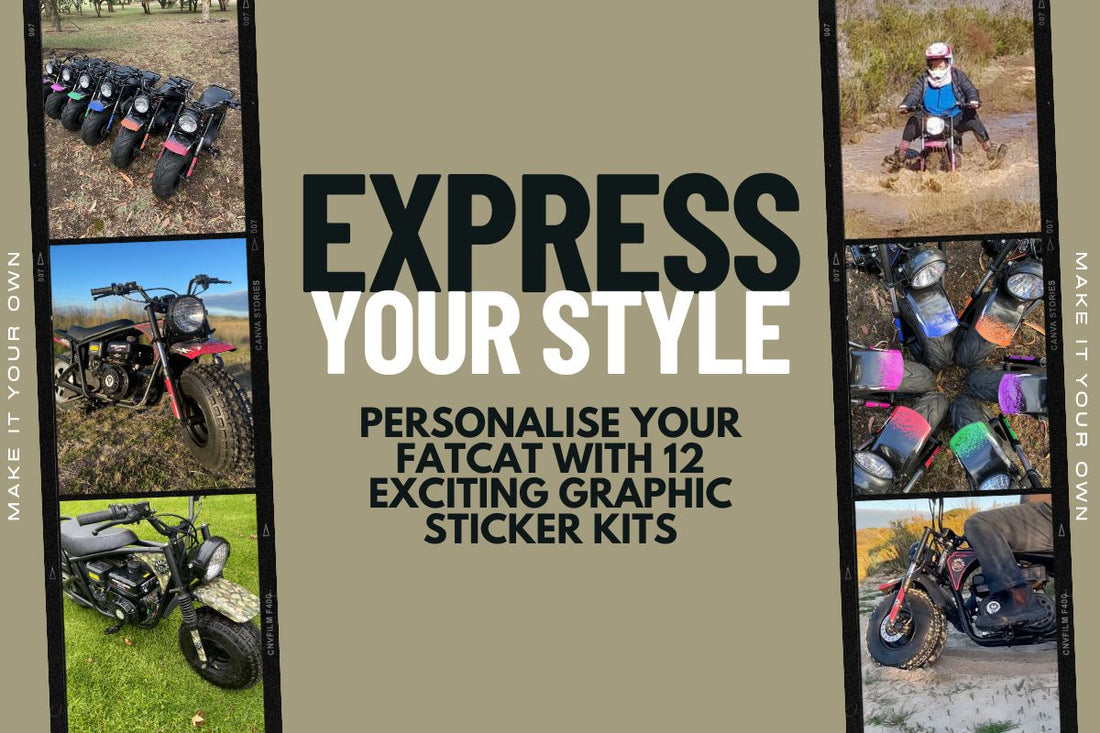
Turn Heads with a FatCat Makeover!
Looking to add a personal touch to your FatCat FC-212? Our Graphics Kits are the perfect way to customise your ride and make it truly yours. Whether you want to show off bold designs or simply stand out on the offroad, these kits are your ticket to a standout bike.
Best part? Installing them is a breeze!
Step-by-Step Graphics Kit Installation
Follow these simple tips for a flawless finish:
1️⃣ Clean It Up: Start with a clean slate. Use a soft cloth and isopropyl alcohol (or methylated spirits) to wipe down the surface where your graphics will go. Make sure it’s free of dirt and debris.
2️⃣ Front Guard Top: Apply the top front guard sticker first. Align it 1-2mm back from the front edge and smooth out any bubbles.
3️⃣ Front Guard Sides: Place the side stickers, leaving a 2mm gap to the edge of the guard. Overlap the edges slightly and smooth from the inside out.
4️⃣ Rear Guard Top: Position the top rear guard sticker 4-5mm back from the edge. Smooth away any creases or bubbles.
5️⃣ Rear Guard Sides: Align the side stickers, overlapping as needed. Smooth them down from the centre outwards to ensure a perfect fit.


Graphics That Go Beyond the Trails
Adding a graphics kit isn’t just about looks—it’s about creating a bike that’s as unique as your riding style. Whether you’re tearing up the offroad or cruising through your property, your customised FatCat will turn heads everywhere.

Why Choose Our Graphics Kits?
• Durable Designs: Built to handle the toughest off-road adventures.
• Easy Installation: No stress, no fuss—just follow our guide!
• Unique Look: Make your FatCat as bold as your personality.

FatCat Mini Bikes Australia
www.fatcatbikes.com.au
Email Us: fun@fatcatbikes.com.au
Text Us: 0482 090 109
Whether you have a burning question about our amazing bikes, need some expert advice on your next adventure, or just want to share your two-wheeled tales, we're all ears!
Got a question? Hit reply and let us know—your FatCat crew is here to help!